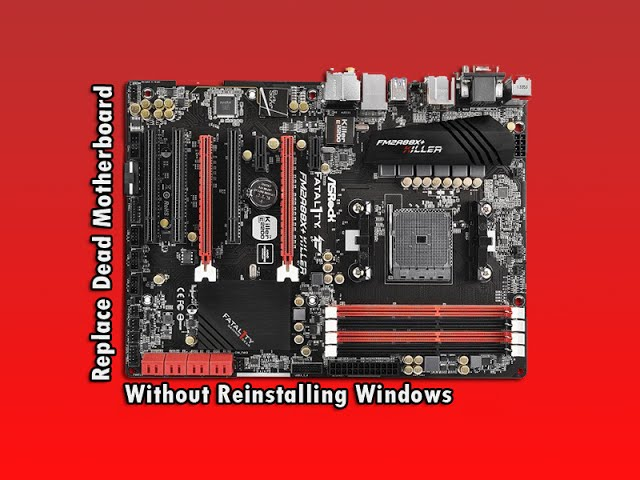
Can I Swap Motherboards Without Reinstalling Windows? – Find Out In 2023!
Yes! You Can Swap Motherboards without Reinstalling them, but it requires thorough planning and precise execution.
This guide walks you through the process, from backing up your data and gathering essential drivers to deactivating Windows and seamlessly installing it on your new motherboard.
Motherboard bridging the gap between Windows and other hardware – Stay With Us!
Before we embark on this motherboard-swapping journey, let’s take a moment to appreciate the role of this critical component. The motherboard is the central nervous system of your computer, connecting all your hardware elements.
Therefore, it’s where your CPU, RAM, GPU, and storage devices come together to create the magic of computing. Windows, your trusty operating system, relies on this intricate connection to function seamlessly.
Importance of Upgrading Your Motherboard – Explore More Options!
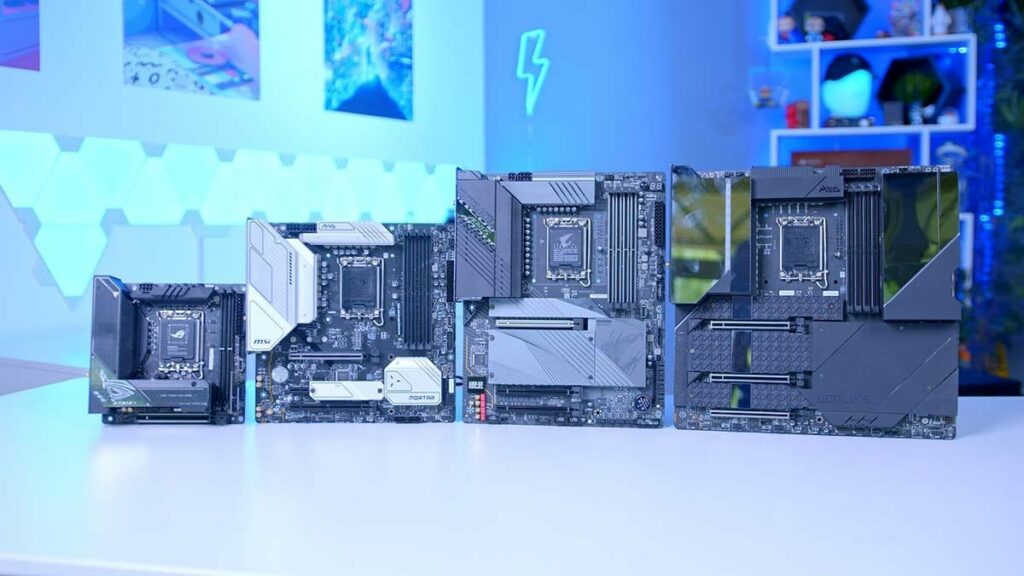
Upgrading your motherboard can offer various benefits, from supporting faster processors to accommodating more RAM or providing additional storage and connectivity options. But it also challenges how Windows smoothly transitions to your new motherboard.
The Windows and Hardware Relationship – Discover the Crucial Link!
Windows is deeply entwined with the specific hardware it’s initially installed on. During installation, Windows meticulously collects information about your motherboard, CPU, storage devices, and other hardware components.
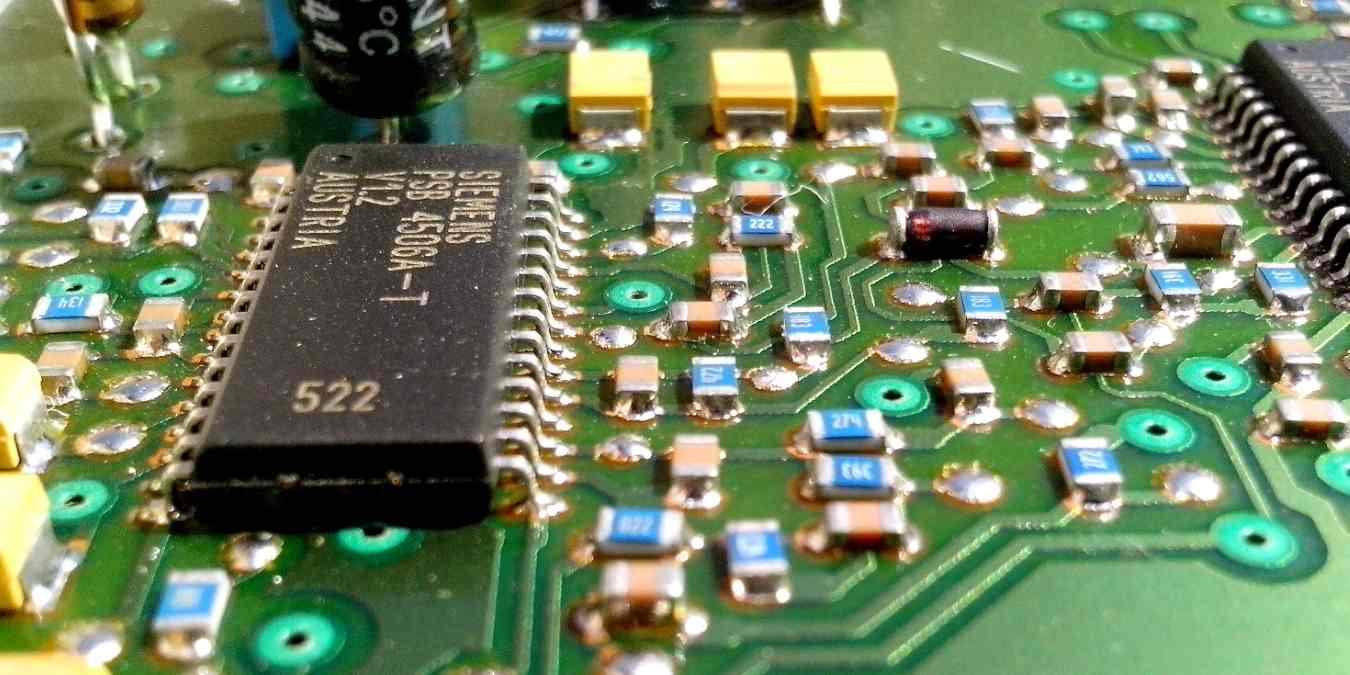
Consequently, this data resides in the Windows Registry, encompassing drivers and settings that facilitate seamless interaction with your unique hardware setup.
PreparationTo Swap Motherboard – The Key to Success
1. Secure Your Data:
Before embarking on this journey, ensure all your essential data is backed up to an external drive or cloud storage. This includes documents, cherished photos, viral videos, and other important files
2. Gather Those Drivers:
Identify and download the essential drivers for your new motherboard from the manufacturer’s official website. These drivers ensure that all your hardware components operate seamlessly with your fresh motherboard.
3. Deactivate Windows:
If your version of Windows is connected to your Microsoft account (a feature introduced in Windows 10), consider deactivating Windows on your old motherboard. This step can simplify the reactivation process on your new motherboard.
4. Record Your Product Key:
Make sure you have your Windows product key readily available. You can typically find it on a sticker affixed to your computer or within your digital purchase records.
5. Create Installation Media:
Take the initiative to craft a bootable USB drive containing the Windows installation files. The official Windows Media Creation Tool can assist you in this endeavor.
The Step-by-Step Process – Navigating the Motherboard Swap Journey!
1. Begin with Disconnection:
Power off your computer, and carefully disconnect all cables and peripherals. Remove your old motherboard and the CPU, RAM, and other hardware components.
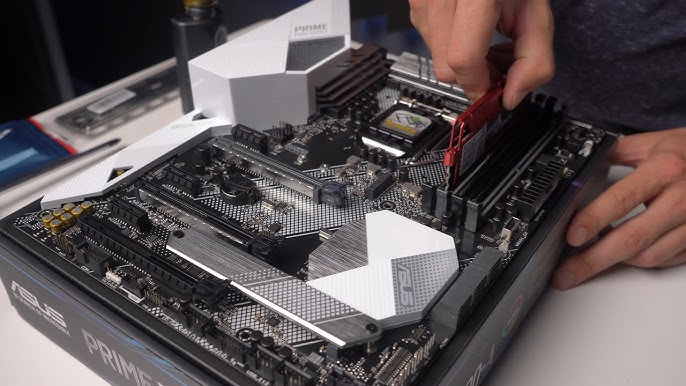
2. Embrace the New Motherboard:
Thoughtfully introduce the new motherboard into your computer’s case, ensuring it’s securely seated and correctly aligned with all the necessary screw holes.
3. The Reconnection Ritual:
Reconnect all your essential components, from the CPU and RAM to the GPU, storage drives, and power connectors. Thoroughly verify that every element is seated correctly and firmly connected.
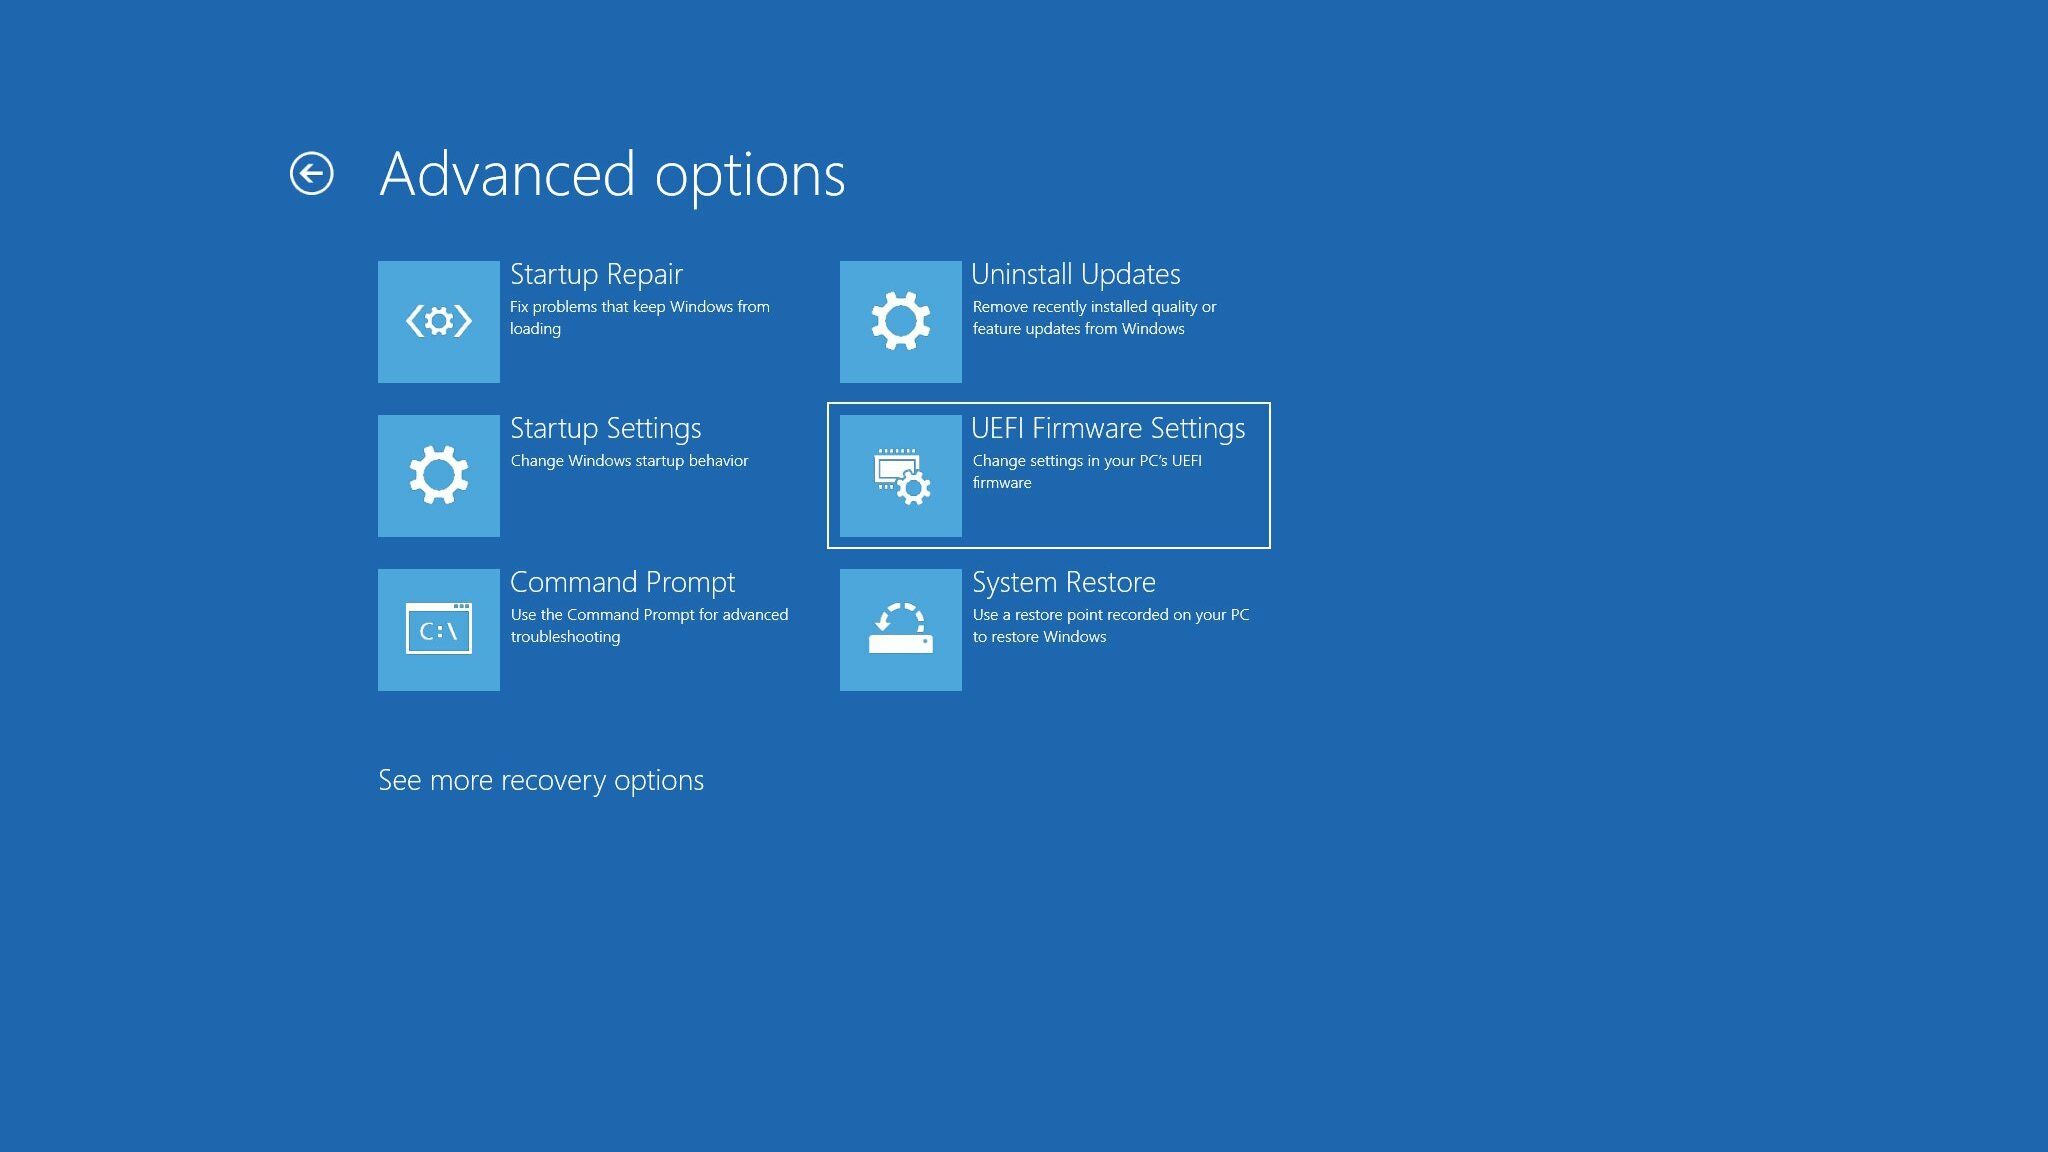
4. Power Up and Access BIOS/UEFI:
Switch on your computer and access the BIOS/UEFI settings by pressing the appropriate key during the boot process (standard keys include Del, F2, or F12). Configure the BIOS settings as required, including the boot order settings.
5. Introduce the Bootable USB Drive:
Insert the bootable USB drive that houses the Windows installation files into your computer and restart. Ensure that your system boots from the USB drive.
6. Windows Installation Process:
Follow the on-screen instructions to initiate the Windows installation process. When prompted for the product key, provide it as necessary. Furthermore, if you deactivate Windows on your old motherboard, you should be able to reactivate it on your new motherboard using the same product key.
7. The Crucial Driver Installation:
After the Windows installation concludes, install the drivers you downloaded for your new motherboard. This is a pivotal step in guaranteeing the flawless operation of all your hardware components.
8. The Windows Update Ritual:
Carry out a Windows Update to ensure your operating system is up-to-date and equipped with the latest security patches and drivers.

9. Data Restoration, Your Final Act:
Restore your meticulously backed-up data from your external drive or cloud storage to your freshly installed Windows environment.
10. The Ultimate Test:
Conduct a rigorous testing phase to ascertain that all your hardware components function impeccably and your system remains steadfastly stable.
Potential Challenges and Considerations – Get Ready for a Seamless Upgrade!
- Hardware Compatibility: Verify that your new motherboard is compatible with your existing CPU, RAM, and other essential components.
- Driver Compatibility: Ensure that the drivers you downloaded are harmonious with your specific Windows version.
- Activation Apprehensions: Be prepared to reactivate Windows using your product key, especially if substantial hardware modifications transpire.
- Data Backup: Please don’t underestimate the importance of backing up your data to shield it from potential loss during the transitional process.
Frequently Asked Questions:
1. Will I lose my data if I replace my motherboard?
You will retain your data if you carefully back it up before replacing your motherboard.
2. How often should I replace my motherboard?
You generally only need to replace your motherboard if you’re upgrading other components or experiencing hardware issues. There’s no specific time frame for replacement.
3. Why would I want to swap motherboards?
We Upgrade for better performance, more features, or compatibility with newer hardware components.
4. Where can I find the necessary drivers for my new motherboard?
Download the drivers from the manufacturer’s official website.
Conclusion:
In a nutshell,
The question of whether you can swap motherboards without reinstalling Windows yields a resounding affirmative answer. It’s a complex task that demands meticulous preparation and the correct drivers.
Therefore, anticipate potential challenges and always safeguard your data through diligent backups. With these principles in mind, you’re ready to embark on this exciting journey of computer enhancement.