00 Error Code Motherboard – Let’s Get Your PC Up and Running!
The “00” error code is like a secret message from your motherboard. When you start your computer, it goes through a Power-On Self-Test (POST) test. The “00” error code is the motherboard’s way of telling you something isn’t quite right during this test.
This article will explore this mysterious “00” error code in-depth. We’ll break it down, figure out what might be causing it, and, most importantly, learn how to fix it.
Understanding the “00” Error Code – Unlock the Secrets!
Defining what the “00” error code means on motherboards?
Now, let’s break down what “00” means in the language of the motherboard. “00” often signifies a problem during the initial system check(POST).
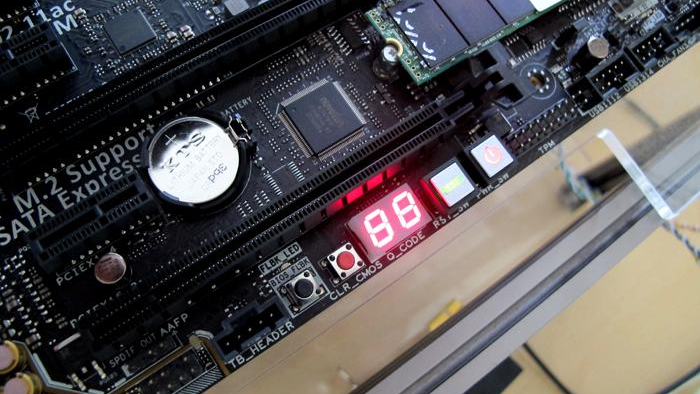
Furthermore, the motherboard checks all its parts to make sure they’re working correctly, and if it finds any issues, it might show this “00” code to get your attention.
Discussing its variations and potential implications:
Not all “00” error codes are the same, and that’s where it can get a bit tricky. Depending on the specific motherboard, the “00” code might have different variations.
For instance, one “00” error might be related to the CPU (the brain of your computer), while another could be about the RAM (your computer’s memory).
So, understanding the variations helps you pinpoint where the problem might be lurking.
How this code is part of the POST (Power-On Self-Test) process?
When we press the Power-On button on our computer, Self-Test (POST) comes in. During the POST, the motherboard runs a series of tests. These tests look at things like the CPU, RAM, graphics card, and other components.
Now, here’s the connection to the “00” error code: if the motherboard finds a problem during these tests, it uses the “00” code to let you know something’s not right. Therefore, It’s like your computer’s way of saying, “Hey, I can’t start because there’s a problem with one of my parts.”
Common Causes of the “00” Error Code – Be Ready to Fix It!
CPU and RAM issues:
The CPU is like the brain of your computer. It does all the thinking and calculations. If it’s damaged or not connected properly, it can cause the “00” error.
RAM is a memory where your computer temporarily stores data it’s currently using. If there are issues with your RAM, your computer can become unstable. Make sure it’s seated correctly in its slots and not damaged.
Power supply problems:
Your computer’s components need a steady and appropriate supply of power to work correctly. If the power supply unit (PSU) is failing or not providing enough power, it can lead to the “00” error. Check all power cables and connections.
Motherboard failure:
The motherboard is like the command center of your computer, and if it’s damaged or malfunctioning, it can undoubtedly lead to the “00” error. It is one of the trickier issues to diagnose and may require professional help.
Connection issues:
Loose or improperly connected cables can cause all sorts of problems. Check all lines, including power cables and data cables (like those connecting hard drives and peripherals), to ensure they are firmly connected.
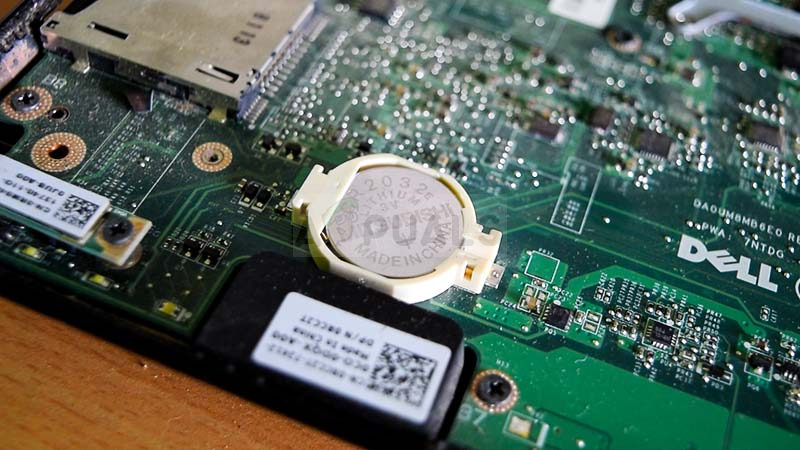
BIOS/UEFI issues:
The BIOS (or UEFI) is the software that controls your motherboard’s operation. If it’s corrupt or misconfigured, it can lead to the “00” error. Resetting the BIOS settings to their defaults helps resolve this issue.
GPU-related problems:
Your graphics card, or GPU, is responsible for rendering images on your screen. If it’s faulty or not seated correctly, it can lead to the “00” error. Ensure the GPU is securely connected to its slot and that it’s functioning correctly.
How to Fix ‘Code 00’ on Motherboard? – Troubleshooting Steps!
1. Checking Hardware Connections:
- Power Off: Ensure your computer is turned off and disconnected from the power source.
- Open the Case: If necessary, open your computer case to access its internal components. Follow proper safety precautions, like wearing an anti-static wristband.
- Inspect Connections: Carefully examine all hardware connections, including power cables, data cables, RAM modules, CPU, and GPU. Ensure everything is firmly and correctly connected.
- Reseat Components: If you find any loose connections, gently reseat them. For RAM, release the clips on each side, remove the modules, and then reinsert them firmly. For the CPU, follow your motherboard’s instructions for removing and reinstalling it.
- Check Expansion Cards: If you have additional cards like a graphics card or network card, make sure they’re seated correctly in their slots.
2. Resetting BIOS/UEFI Settings:
- Access BIOS/UEFI: Restart your computer and access the BIOS/UEFI settings by pressing the designated key during boot (usually Del, F2, F10, or Esc). Refer to your motherboard’s manual for the specific key.
- Load Defaults: Within the BIOS/UEFI settings, locate the option to “Load Default Settings” or “Restore Defaults.” Confirm and save changes if prompted.
- Save and Exit: Exit the BIOS/UEFI settings, saving changes if required. Your computer will reboot with default settings.

3. Testing with Minimal Components:
- Disconnect Peripherals: Remove all unnecessary peripherals and external devices, including printers, USB drives, and additional monitors.
- RAM Testing: If you have multiple RAM modules, try booting your computer with only one module installed at a time. If it works with one but not the others, you may have a faulty RAM stick.
- Minimal Configuration: Strip down your computer to the essentials: CPU, one RAM module, motherboard, and power supply. Disconnect everything else.
- Boot Test: Attempt to boot your computer with this minimal configuration. If it kicks successfully, start reconnecting components one by one to identify the problematic hardware.
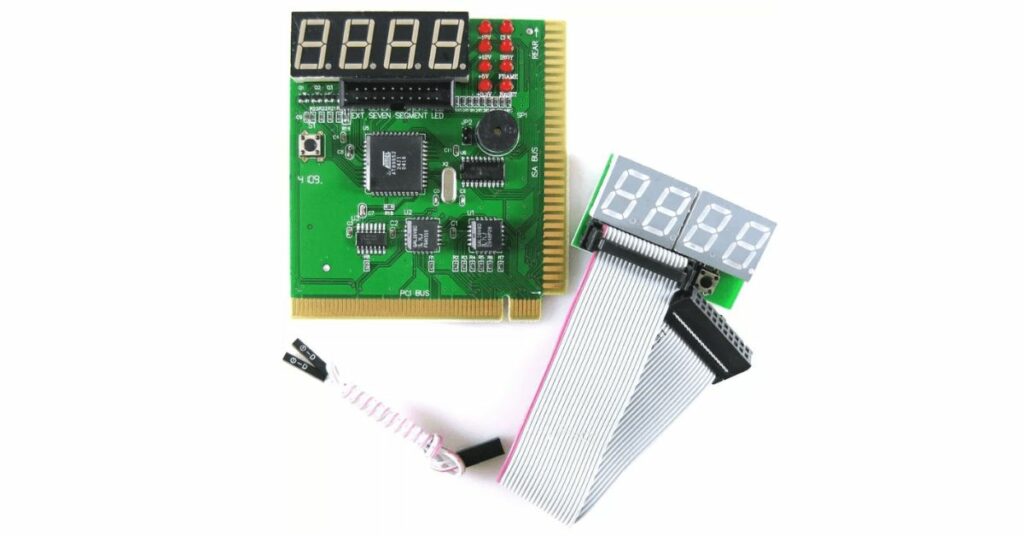
4. Utilizing Diagnostic Tools and Software:
- Download Diagnostic Software: Download and install diagnostic software specific to your motherboard or use third-party tools like Memtest86 for RAM testing.
- Run Diagnostics: Use the diagnostic software to check the health of your hardware components, including CPU, RAM, and storage devices.
- Follow Recommendations: If any issues are detected, follow the recommendations provided by the diagnostic tool or refer to your motherboard’s documentation for troubleshooting steps.
- BIOS/UEFI Updates: Check your motherboard manufacturer’s website for BIOS/UEFI updates. If available, update your motherboard’s firmware following the manufacturer’s instructions.
Avoiding Common Mistakes – Fix Common Pitfalls With Us!
Rushing Through Troubleshooting:
Some users might be in a hurry to diagnose the issue adequately. It can lead to misdiagnosis and potential damage to components. Therefore, always Take your time to analyze the problem systematically.
Neglecting Safety Precautions:
Failing to take proper anti-static precautions, like wearing an anti-static wristband or working on an anti-static surface, can result in electrostatic discharge (ESD) damage to sensitive components.
So, wearing an anti-static wristband or touching a grounded metal surface is essential before handling sensitive computer components.
Skipping Documentation:
Not documenting your troubleshooting steps and changes made during the process can make it challenging to backtrack or seek professional assistance if needed.
Therefore, Keep a record of each action you take during troubleshooting, including hardware or software settings changes.
Overlooking Software Issues:
Assuming the problem is purely hardware-related, neglecting potential software issues or conflicts can lead to unnecessary component replacements.
Hence, boot into safe mode or use diagnostic tools to test software-related possibilities.
Preventative Measures – Precaution is better than cure!
Regular Hardware Maintenance:
Your computer needs maintenance, just like your car. Dust and dirt particles can accumulate inside your computer over time, leading to overheating and hardware issues.
Periodically clean your computer’s components, especially the CPU and GPU heatsinks, fans, and vents, to ensure they stay cool and functional.
Check and Secure Connections:
Loose or improperly connected cables can cause many problems, including the “00” error code. Inspect and secure power cables, data cables, RAM modules, and other connections to prevent issues.

Keep Software Updated:
Outdated BIOS/UEFI firmware or drivers can lead to compatibility issues. Visit the motherboard manufacturer’s website regularly to check for updates and install them as needed.
Proper Shutdown and Startup:
Correctly shutting down your computer is crucial rather than using the power button or unplugging it. This step helps prevent data corruption and potential hardware damage.
Surge Protection:
Invest in a good surge protector or uninterruptible power supply (UPS) to prevent your system from power spikes and electrical surges.
Frequently Asked Questions:
1. What is the code 00 on the ASRock motherboard?
ASRock motherboard’s “00” error code often indicates a POST (Power-On Self-Test). It doesn’t necessarily represent a specific issue but signifies that the motherboard is in the early stages of booting up.
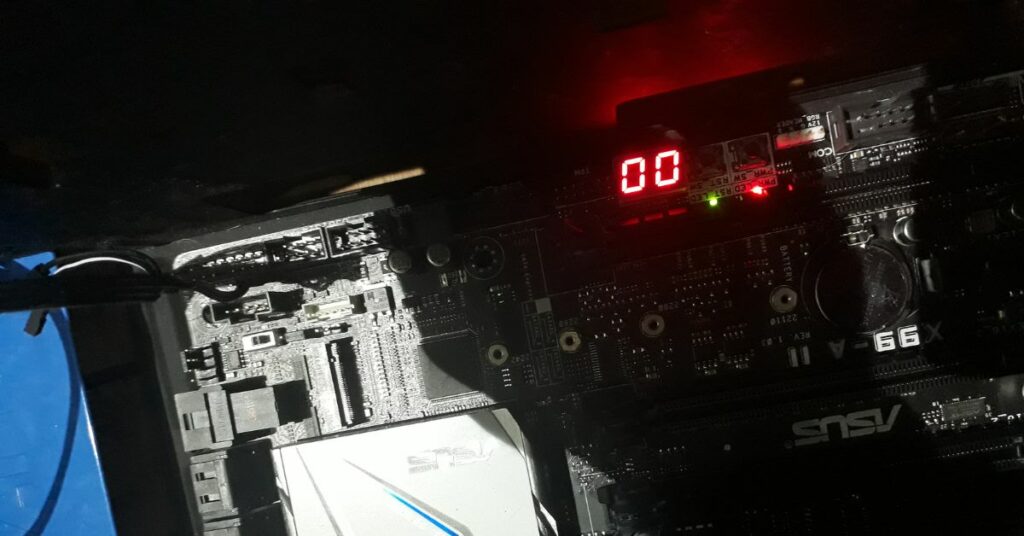
2. What does the “00” motherboard code with no display mean?
The “00” error code on the motherboard, accompanied by no display, suggests a hardware issue during the initialization process.
3. How do I troubleshoot the “00” code and no display issue?
Start by checking hardware connections, especially the CPU and RAM. Ensure the GPU is properly seated. Test with minimal components and reset BIOS settings.
4. Can a software issue cause the “00” error code?
Typically, “00” is related to hardware initialization. However, software conflicts or issues may indirectly contribute to hardware problems.
Conclusion:
All in all, the “00” motherboard error signals that something’s amiss during startup. Various hardware issues can cause it.
However, to resolve it, follow systematic troubleshooting steps, check connections, and consider component-specific solutions. Regular maintenance and updates can prevent future occurrences.